Wednesday, February 20, 2013

Popcorn Ceiling Removal

It's one of those days... sleeting outside, popcorn ceiling coming down inside...
  Two biggest tips to popcorn ceilings...1, lots and lots of plastic.  Few jobs get messier, I'd like to see Dirty Jobs do one... 2, Find someone to do it for you..unless you are really don't mind getting dirty and have a lot of upper body strength for scraping over your head!
It can be done...we spray it down with a pump up spray bottle of water then carefully scrape it.  It's easy to gouge it with a scraper.. Next we go over all the bumps and scrapes with sheetrock mud, normally a 40 minute mud so we can shoot it with texture the same day.
  Just a cheep 50 dollar texture gun will do the trick, and it can be rented as well.
  A corner of the ceiling can be shot several times and pulled back off with a sheetrock spatula until you get the desired look as you experiment with thicker and thinner mud.
More to follow...
Happy Muscle Building

Tuesday, February 19, 2013

Collapsed Ceiling (Think YOU had a bad day?)

Had this call a while back.  a good portion of the living room ceiling collapsed causing a huge mess.

  It is interesting to note that we were suffering an extreme heat wave at the time of this disaster.  The only things we noted were seriously warped ceiling joist with sheetrock nails popping through the plaster.  This was probably aggravated due to the house standing without proper insulation for many years.  The house has gone through upgrades over the years, but not before the damage from years back had taken it's toll.

  It is a common problem to see this in garages, because many are not insulated.

  If you ever see nail holes appearing in a ceiling or can detect bowing and warping in a ceiling, do not delay in checking out what the cause of the problem is.

  As you can see in the picture, a disaster could have been avoided if the bowing had been noticed.

  Extensive work had to be done, ceiling joist had to be cut out and replaced.  Most of the sheetrock had to be replaced and re-textured.

  It helps to notice the small tell-tale signs!!

Happy Cleaning...

Monday, February 18, 2013

Hot Water Heater Repair (electric)

Here is a Hot Water Heater I repaired today. The problem was that the water was hot at first then quickly got cold.

Here's what I found...
The first thing was that the thermostat here had failed. It no longer "clicked" when you turned it all the way up and all the way down. I found that it had failed in the "on" position and it also caused the Heating Element to burn out.

There was two elements, one worked and one didn't...that's why the water was hot at first, then quickly got cold.

Removing the thermostat is simple, make sure the power is off, double check then re-check that the power is off!!! Unscrew the wires and pull the tabs up (shown with arrows) and slip it out...
The heating element is shown here.

But first....you must drain your tank....
Today I had a more difficult problem because the drain had frozen, so instead of doing it the easy way with a water hose, I actually had to remove the element and let the water fly!! It took 11, 5 gallon buckets almost full of water to remove it all....Got quite messy...

Remember to make sure you turn off the cold water supply to the hot water heater. Releasing the pop-off valve at the top of the water heater can allow an air-break allowing the water to drain faster as well.

Again, making sure the power is off, remove the wires. Then as you can see a couple of pictures above here.... there is a large nut that is actually built onto the element. Turn ONLY the silver nut part, do NOT use the plastic casing around the wires to turn the element.
This is the new heating element going back into the hot water heater...Make sure you match the exact wattage element...

Remember to re-fill the heater before you turn it on!!

I leave the pop-off valve open and turn the water back on, then wait 5 or so minutes until it gets full and quickly shut it off when I hear water going through it.

Make sure all your shields are back in place, turn the breaker back on, (hopefully there are no sparks...haha) and listen for the water to start to boil!!

"Happy Hot Shower!"


Sunday, February 17, 2013

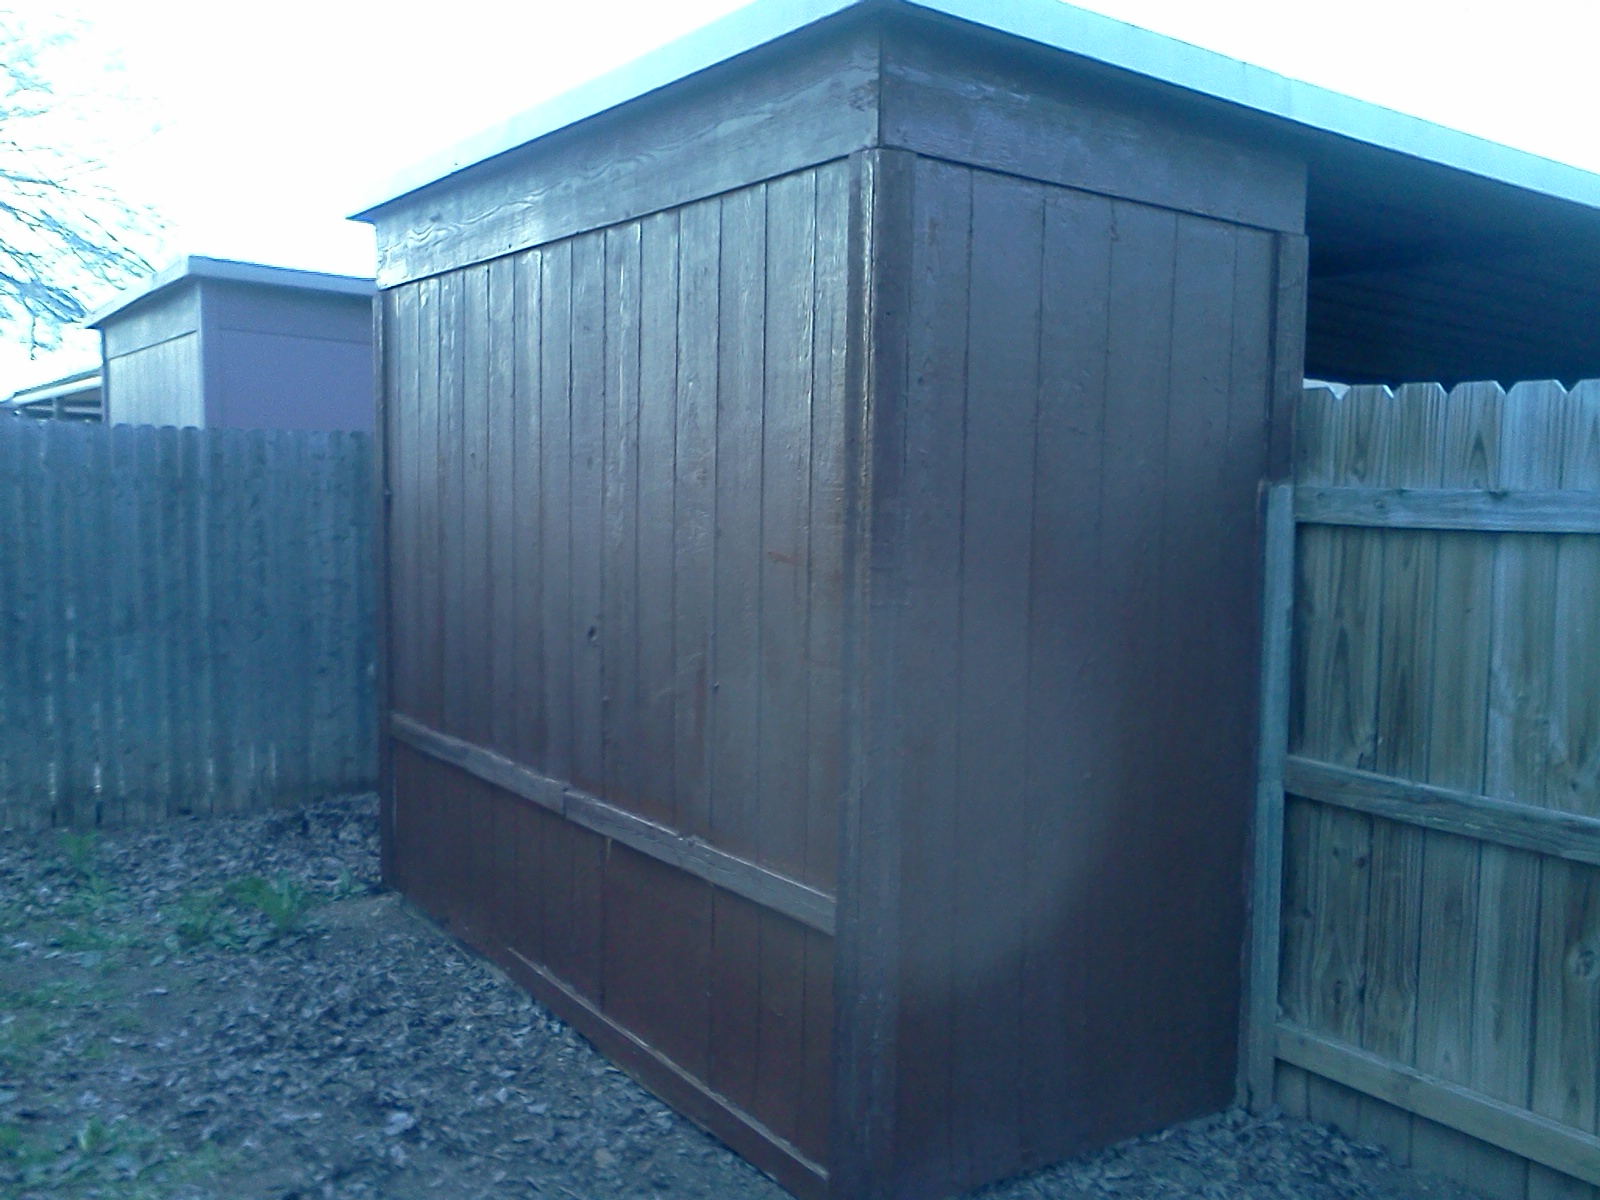
A Gallon of Paint and Some Scraping

It's amazing what a 24 dollar gallon of paint and a little elbow grease will do...

This old shed was an eyesore, but with just an hour and a half of work and a few dollars for paint....even the neighbors are happier!


"Happy Scraping"

Gate for a Headboard!?

Installed a gate used as a headboard last week! Pretty interesting look.


We left it as-is, no sanding, scraping or prepping...just coated it with 3 layers of clear coat to keep the rusty areas from flaking off...

Rot Repair Trick (Siding)


  Siding has a tendency to rot along the bottom where rain splashes up and moistens the bottom of the wood that normally does not get painted. In the picture below you can see an extreme example of this.


When the budget is small, there is a way around changing out the entire sheet of siding and it can also prevent further damage to the house. In the picture below, you can see where we went over the rot with treated 1x4's and it now looks like it belongs there.


You must take care to caulk the top edge really well so additional water does not penetrate, and also make sure when you cover the rot that there are no openings that ants or other small insects can get through. Take care to paint the UNDERSIDE of the board as well that faces the ground so it will keep it from rotting in the future.

"Happy Fixin"

Saturday, February 9, 2013

Mailbox Time!

  Here I will focus more on setting up a mailbox on the street rather than a "designer" mailbox..

  NOTE:  Make sure you double check with your local postal regulations BEFORE installing a mailbox, some towns have very strict rules on types of posts and boxes.  Height above the road is very important as well.   Many rural areas and addresses on highways require break-away posts.  Sometimes County maintenance will require them coming out to set it for you at their specs.
  When in doubt, match what all your other neighbors did and you should be ok!

   Hardware stores have a lot of new products available now that makes setting a mailbox much easier than before.
Here is a "Drive-in" anchor, available at True Value Hardware Click here to view it


Or you can go with the traditional type like the one pictured below that I installed in North Texas.
This set-up cost less than 55 dollars including concrete
  If you plan to set one in concrete and it's allowable in your neighborhood, Dig a hole with a post hole digger to a minimum depth of 18".   Use 60 lbs of fast-setting concrete so you can set the treated 4x4 in the ground and have it dry quickly.  While it is drying, assemble the mailbox and by the time you finish, the concrete should be hard enough to mount the box.

   If you don't have a saw large enough, most major hardware stores can cut the lumber for you.  Take the measurement the postal service requires and add 18" to it to set it in the ground at the correct.  If you have a curb in your neighborhood, you will only need to add about 12" to the length of the post because of the added height of the ground.
   Dig the hole, checking your measurements often until you are at the correct height, then level the post and pour concrete around it.
To make your job even easier, you can buy a mounting bracket for the top of the post that is NOT included with mailboxes.  This one is shown at True Value Hardware Here

  You can mount a standard mailbox to this bracket and they start out around 25 dollars.

Or you can get creative....

Here's a link I found this morning for a really fancy mailbox...

Happy Mailboxing!