Saturday, March 2, 2013
Backsplash
Tuesday, February 19, 2013
Collapsed Ceiling (Think YOU had a bad day?)
It is interesting to note that we were suffering an extreme heat wave at the time of this disaster. The only things we noted were seriously warped ceiling joist with sheetrock nails popping through the plaster. This was probably aggravated due to the house standing without proper insulation for many years. The house has gone through upgrades over the years, but not before the damage from years back had taken it's toll.
It is a common problem to see this in garages, because many are not insulated.
If you ever see nail holes appearing in a ceiling or can detect bowing and warping in a ceiling, do not delay in checking out what the cause of the problem is.
As you can see in the picture, a disaster could have been avoided if the bowing had been noticed.
Extensive work had to be done, ceiling joist had to be cut out and replaced. Most of the sheetrock had to be replaced and re-textured.
It helps to notice the small tell-tale signs!!
Happy Cleaning...
Sunday, February 17, 2013
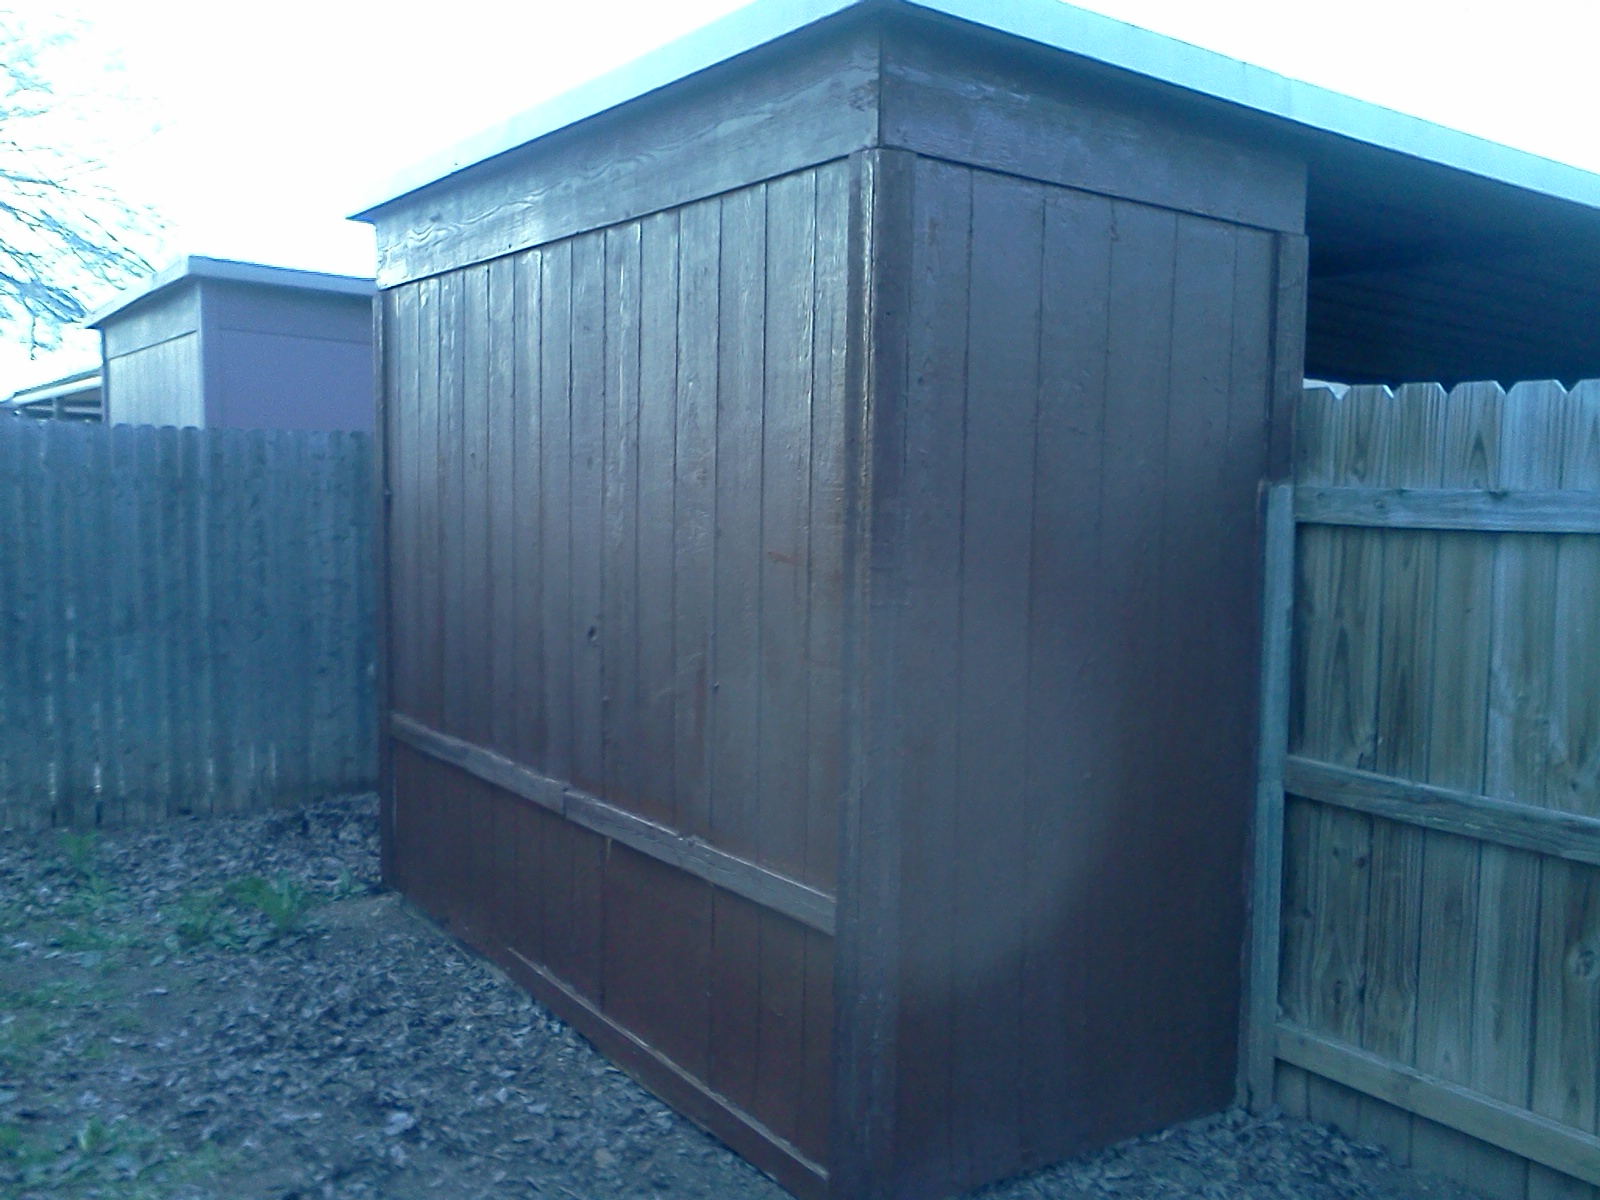
A Gallon of Paint and Some Scraping
This old shed was an eyesore, but with just an hour and a half of work and a few dollars for paint....even the neighbors are happier!
"Happy Scraping"
Rot Repair Trick (Siding)
Siding has a tendency to rot along the bottom where rain splashes up and moistens the bottom of the wood that normally does not get painted. In the picture below you can see an extreme example of this.
You must take care to caulk the top edge really well so additional water does not penetrate, and also make sure when you cover the rot that there are no openings that ants or other small insects can get through. Take care to paint the UNDERSIDE of the board as well that faces the ground so it will keep it from rotting in the future.
"Happy Fixin"
Saturday, February 9, 2013
Mailbox Time!
NOTE: Make sure you double check with your local postal regulations BEFORE installing a mailbox, some towns have very strict rules on types of posts and boxes. Height above the road is very important as well. Many rural areas and addresses on highways require break-away posts. Sometimes County maintenance will require them coming out to set it for you at their specs.
When in doubt, match what all your other neighbors did and you should be ok!
Hardware stores have a lot of new products available now that makes setting a mailbox much easier than before.
Here is a "Drive-in" anchor, available at True Value Hardware Click here to view it
Or you can go with the traditional type like the one pictured below that I installed in North Texas.
| This set-up cost less than 55 dollars including concrete |
If you don't have a saw large enough, most major hardware stores can cut the lumber for you. Take the measurement the postal service requires and add 18" to it to set it in the ground at the correct. If you have a curb in your neighborhood, you will only need to add about 12" to the length of the post because of the added height of the ground.
Dig the hole, checking your measurements often until you are at the correct height, then level the post and pour concrete around it.
To make your job even easier, you can buy a mounting bracket for the top of the post that is NOT included with mailboxes. This one is shown at True Value Hardware Here
You can mount a standard mailbox to this bracket and they start out around 25 dollars.
Or you can get creative....
Here's a link I found this morning for a really fancy mailbox...
Happy Mailboxing!
Thursday, February 7, 2013
Gel Stain
Gel stain is a really great product to use in the place of traditional stains. You are almost unlimited on the types of finishes you can do.
Coat what you want to stain with a paint first, (you might want to experiment on a piece of junk wood first to figure out what outcome you want)
When you start coating with the stain, usually with a cotton rag, the lighter you press down, the darker it will come out. Pressing hard will leave it lighter. Most of the time, it is better to apply several light, fast-drying coats rather than a heavy coat that takes a long time to dry and risks running.
Try different colors, I've seen many colors used as bases with very light gel stains applied over them with really amazing results.
I have even seen one of my friends use coffee grounds to stain the walls in his living room....but that's another story...
For me, this is the best product to use on fiberglass doors or even doors that only have primer. It is very easy to use and apply, it can make you look like an expert in no time!
I have found that taking regular breaks and stepping back to look at your work will help keep you on track and keep a uniform look. Always compare your work with the first section you started! It's easy to get lazy after half the job and lose the original feel and look. Press through to the end, you will be amazed.
Happy Staining!
Below in the first picture is some trim I'm working on today. A flooring company came in and left white trim against beautiful dark cabinets and I'm using gel stain to darken the trim to the cabinet color. It will probably take 3 coats.
The last picture is the product I'm using today.
Monday, February 4, 2013
Foundation Issues
Cracks can be very anoying, but it's important to know what is causing the crack and the severity of the problem.
Cracks are mostly caused by small movements in the foundation generally enhanced by long wet and dry spells. Here in North Texas, it is worsened by the blackland clay that tends to move much more than typical topsoil.
Some cracks are caused by extreme heat causing wood to twist and buckle, more common in houses that have poor insulation.
Take care in bringing in people to give you estimates on repairs, many companies make a living off of selling fear.
When possible, use a company that a friend had good results with. Get several companies to look it over and see if they all see the same problems. All estimates should be free.
If you need actual repairs, try to use a company that has been in business a long time and guarantes their work.
Happy Spending!!
Below are 2 examples in a house we are working in today with a moderate to severe foundation problem. The slab has moved so much that the sheetrock was actually sheered off in a couple places. Only half of the doors even came close to closing.
The foundation dropped in one area leaving large cracks under the baseboards.
Sunday, February 3, 2013
Saving a Tree
I received a call a few years ago about a tree that had split in a North Texas wind storm.
They really wanted to save the tree and so we looked a few things up online and made an attempt...
The tree was barely hanging on and we feared it would finish splitting at any time. I bolted a chain around it for safety reasons to start work.
As you can see in the first picture, when I started to pull the tree back together, I used heavy straps instead of a come-along because I feared the cables would damage the tree further.
Coons in the Attic!!
Most popping sounds and creaks come from the house rapidly heating or cooling or from the wind blowing. However, if you hear scratching or things running around, you could have problems.
The first thing to do is investigate and see that it's not trees scraping a chimney or roof causing odd sounds. Tree limbs are another problem altogether that must be addressed immediately.
I received a call last Fall from a customer complaining about something living in his attic, after finding major damage, I decided to stake it out, sit quietly and see what happened.
After only 5 minutes of waiting and sweating, this little guy came out and started playing...then another.
They had done a massive amount of damage to the A/C duct work
Here the A/C Duct was broken apart and much of the air was going into the attic!
Most of the lines had half or more of the insulation missing.
It stunk terribly from the droppings.
We immediately set live traps and called a pest control company.
I found no visible holes around the eves of the roof, but then...
I decided to look under the house, so I took a small machete to probe into dark corners and found an old vent that had come apart that made a perfect tunnel from under the house into the attic...Later I realized there was a flea infestation due to the raccoons....but that's another story...
It is very important to remove the animals before making repairs, first, you never want an animal to die in an inhumane way, second, if it dies, you will deal with a massive odor problem for many days!
![]() |
| A very cheesy picture I posted to Facebook as I was about to investigate under the house.... |
Happy Hunting!
NOTE: Some pest control agencies in my opinion scam people out of thousands of dollars in unneeded repairs and work. For instance, one company told us we needed to vacuum all the insulation out of an attic and blow in new due to urine in the insulation....a cost of over 4,000 dollars. Their estimates for repairs of holes and vents was about 5 times more than what a home builder would charge.
Double-check what they are asking you to do and if you receive an estimate for thousands of dollars, be suspicious, be very suspicious...
Thursday, January 31, 2013
Break-in Prevention
Over the past few years we have encountered a dozen or more instances of robberies where the front door was kicked in and homes were robbed in a matter of 2 or 3 minutes.
Although it's not perfectly home-invasion resistant, this product is one of the stronger devices I have seen.
Small chains and sliding locks work very poorly under pressure.
You can look up a "Mythbusters" episode on door locks and make an informed decision for yourself.
The solid double strike plate in the picture costs about 15-20 dollars at your local hardware store and you can drive screws straight into the wall frame.
However.... I have installed many of these for people who were terrified of break-ins and there was a window right next to the door!!
Think about all aspecs of your home security before just doing one thing.
Tuesday, January 29, 2013
Privacy Fencing Tips
Here are a couple of things to consider when you are thinking about building or replacing a privacy fence. I will only discuss lower cost fences in this post.
Planning:
* Check with your City codes, many cities now require only steel posts to be used.
* If you're within City limits, most will require you (the fencing company) to pull a permit before work begins.
* Property corners must be marked clearly and a plat of the property must be provided.
* This will require a land surveyor to come out and clearly mark the corners.
Material:
* Whitewood, the lowest cost available. 3/4 inch thick and if taken care of, should last 8-10 years.
* Cedar, a great durable wood, will last 8-12 years if taken care of.
* Treated, STAY AWAY!!! When we switched wood treatments a few years ago and went with a less-cancer-causing treatment, the lumber has become almost worthless. The biggest issue is bad warping due to imp?roper drying. I refuse to install it.
* Builder grade material....worse, never use it. We've seen 4 year old fences falling apart...
Posts:
* Landscaping timbers...should NEVER be used as posts, they warp and rot extremely fast.
* 4x4 treated posts are our wooded posts of choice... from 4-7 each, it's a bargan.
* 4x4 cedar posts, even better, but would recomend cedar posts with a cedar fence so it doesn't look missmatched.
* Steel posts, the best...price varies greatly with the price of steel. From 12 to 22 dollars each. Note that with steel posts you will have to purchase 3 brackets per post @3-4 dollars each. The most expensive option, but the best option.
Treatments:
* At the very least, put a clear coat over the fence as soon as it goes up. We do this to all our fences.
* So many stains and treatments, you have dozens of options. Just make sure you put SOMETHING on it immediately.
Happy Fencing
Sunday, January 27, 2013
Leaking Faucet
Many times when you have a constantly dripping faucet, it can be repaired by simply changing out the valve stem.
A repair man should be able to tell within a couple minutes if it will work or if the valve is too far gone to be repaired.
Even old faucets can sometimes be repaired, some plumbing supply houses stock many older parts or can overnight them to the store.
A tub valve is pretty much the same, but if it can't be repaired, don't be alarmed if it costs between 400-800 dollars for the fixture to be replaced!
Typically, valve stems run from 10-25 dollars per handle and metal or plastic handles are bought separately for a wide range of prices. From 5 or 6 dollars to 15-20 for basic ones and much more for specialty ones.
A repair man or plumber will typically charge a servce call fee for just replacing stems.
The stem in the picture was being replaced this week in a 25 year old home and the part is available at the local hardware store
Thursday, January 24, 2013
Basket Ball Goal
With the last 2 baskets I have installed, I would recommend NOT using the plastic sleeve that goes first into the ground. We have found that the pole is not as stable and can twist easily. I have never figured out why they include it. It's not to protect the pole, because concrete goes around the pole and inside the pole as well!! Just get the height set correctly and cement it in...


.jpg)