Tuesday, February 26, 2013

Commercial Bathroom Stall Doors

Here's a project we worked on a few weeks ago.
We set up at night to build new stall doors in the bathrooms,
semi-rustic (whatever that means) but this is what the design
came out looking like...
I decided that using outdoor privacy fence gate hardware would fit
best with the design.
We painted them later with the restaurant colors, it seemed to fit well
with restaurant style.
Happy Privacy!

Sunday, February 24, 2013

When Mice Attack!

A rental property left vacant for just a few weeks....

This is pictures I took under the dishwasher.
All the plastic pipes under the dishwasher had been chewed on.
But it even got worse!!
The back of the pump housing was plastic as well, and it had been chewed through in multiple places...the dishwasher was a total loss.

The moral to the story is: rodents and pests can do costly damage even when no one is around and it looks as though everything is cleaned up.  It's good to have good repellent set about when a house is going to be vacant for a while.  Just the fact that rodents like to come in out of the cold, and must eat to survive, should warn us to keep repellent out to avoid this type of costly disaster.

Happy Hunting!

Closet Ideas


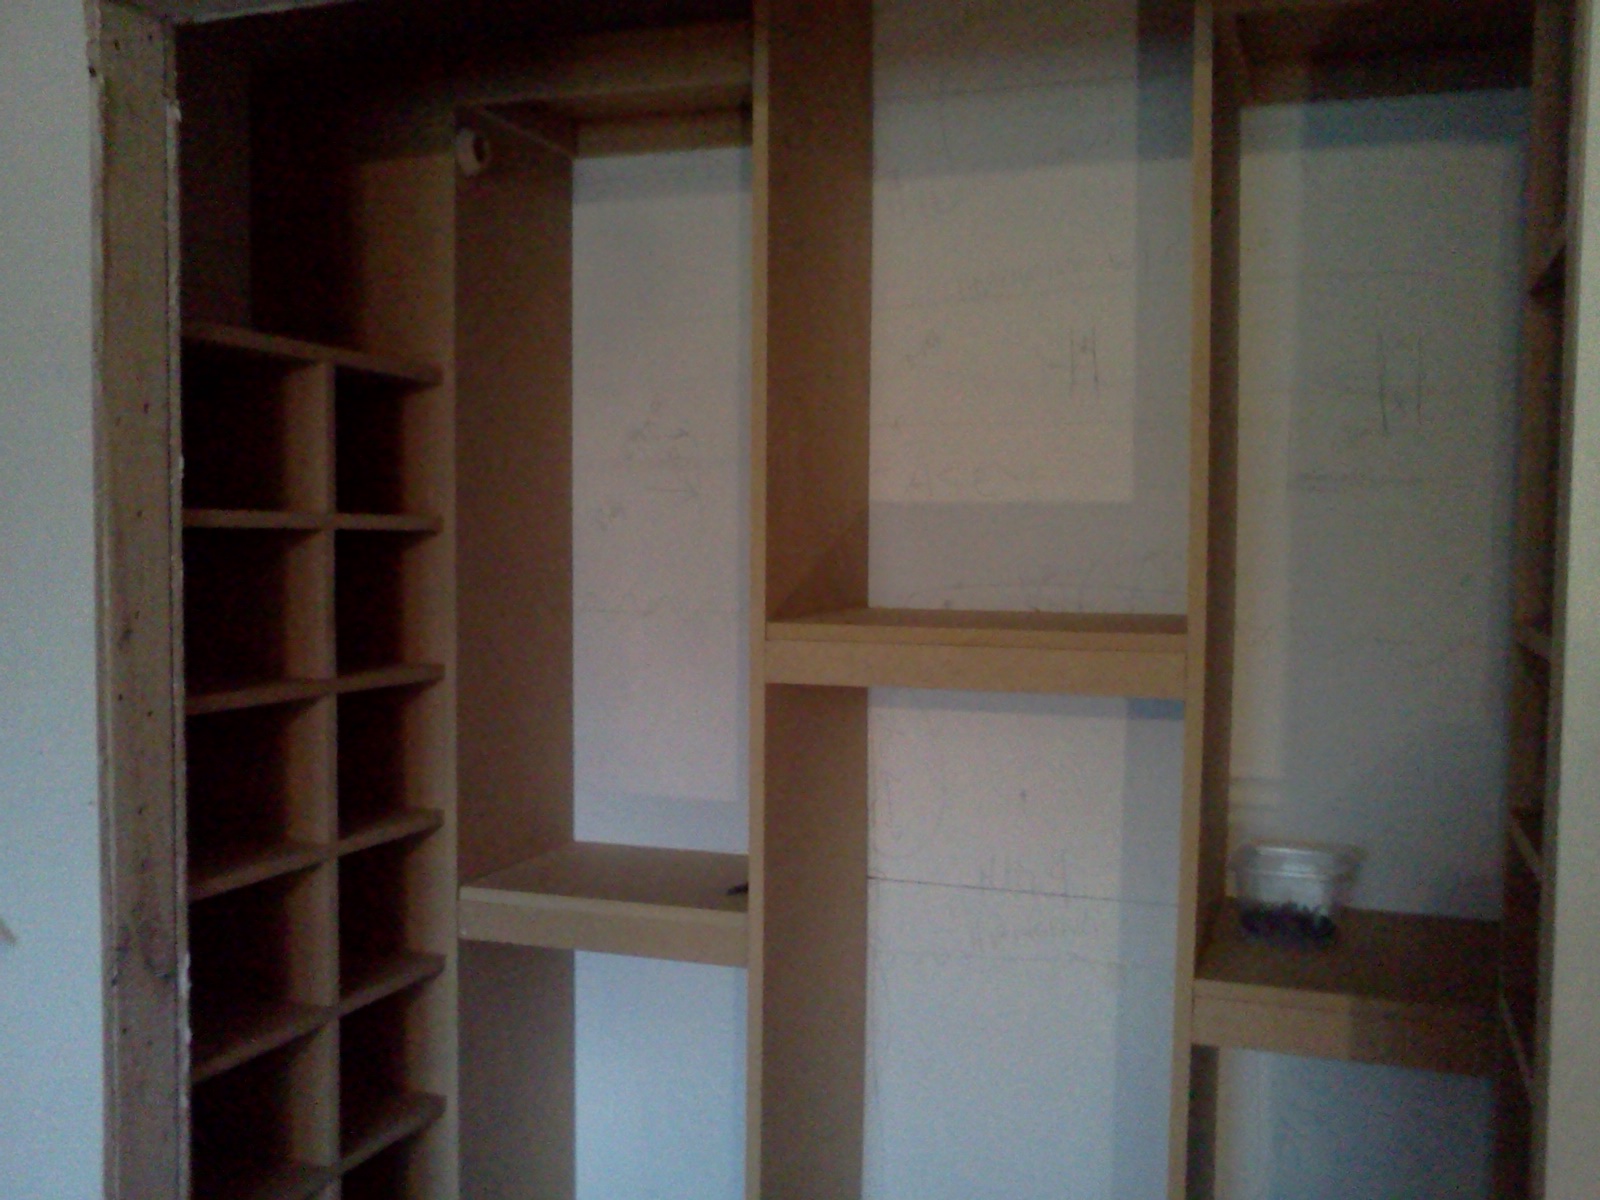
Here's some ideas from a closet we built.
(Click on a picture to enlarge it)
We used 3/4 inch MDF board only.  We cut it down for bracing, trim, shelves...pretty much everything except the hanging rods was made out of MDF board.
The biggest challenge was extremely small closet space.  We had to get creative to make everything fit. (Plus there was a designer working on this job, that's where the "creative" came in!)
Instead of over-cramming stuff, I built a box in the corner and left it empty, dead space.  We only lost that 12" x 12" very hard to reach corner.
We took over the garage for a couple days and used it as a shop...
Here is a finished view before the painters came in...
The shelves on the left are for normal shoes and high-heels.  In the top picture, you can see the shelves on the right that were spaced differently for taller shoes and boots.
The open spaces in the middle are for various length hanging clothes.

The man's side was similar, but all shelves were custom placed so you could use them from everything from tennis shoes to boots to work boots.

We like to visit Ikea and other large home improvement and furniture stores to get ideas on different styles. It's so much better to see it in person and see what works BEFORE you pay someone to build it!
We have even had a client that had cut-out cardboard so they could visualize the size of the shelves better!  A great idea!

Happy Closet Building! 

Saturday, February 23, 2013

No Truck

This is what you do when you're a handyman and have no truck...

Thursday, February 21, 2013

Popcorn Ceiling Removal Day

One of those days...again.  probably for 4 days.  Messy work!!

Life Sized Angry Birds Slingshot

  Here's an idea inspired by the crazy-popular Angry Birds...  I thought we came up with something pretty clever, but come to find out...lots of people have done it!

I simply used 4 inch PVC sewer pipe a couple of caps, a couple of elbows and a "T" then spray-painted it brown.
The biggest issue to me was keeping it stable from a lot of use and keeping it from twisting and turning when a lot of pressure was applied.
  I decided that using 2 "T" fence posts was the easiest and most cost effective solution.  I used bungee chords to tie it to the slingshot.
  The best launching device in our case (water balloons) was a 3 person water balloon launcher.  It turned out to be perfect for 5-10 year olds (and adults) to use!


Here is a better view of the slingshot.  I attached it with 2 large hose clamps on each side for safety.


And here are some pigs about to get clobbered....
The slingshot is now traveling from party to party...

Angry Birds Here

Happy Pig Hunting!

Simple Shed Door

  Here is an idea for a simple shed door, we built this a couple weeks ago to replace an old rotted door.

  We only used one sheet of plywood siding and 8-1x4's

  I install these with the same 1x4 layout on the back as well as the front.  Then I use coated 1-5/8 inch screws through the front and back.  This gives it more stability but it is still not really heavy.
  One of the neat things about this design is that you can use a 1/2" sheet of plywood siding and it still holds itself rigid.
   We caulk the seams and screw holes and paint it.  Everything together comes to less than 90 dollars, including the latch, hinges and paint.
Happy Door Building!